IPD: Polyurethane and Injection Molding
Another project from my Introduction to Computer-Aided Design course, this time focusing on molding, specifically injection molding. For this project, a partner and I were tasked with designing a part, fabricating the tooling necessary to make polyurethane-cast and HDPE injection molded parts, and manufacturing both parts in volume.
My partner and I modeled a sports car based loosely on a McLaren. While our original model was quite true to a specific model, many additional changes had to be made to address issues such as concealing mold part lines, eliminating geometric overhands, ensuring a minimum 1º draft angle, and altering geometry to avoid material sink.
For the polyurethane-cast version of our part, we started by 3D printing a shelled version of our car on a Projet 6000. For this iteration of the sports car, overhangs were mostly eliminated to allow for easy separation from the mold. Small geometries, such as the side mirrors and windows, were eliminated to ensure adequate mold flow and avoid air bubbles forming in our part or mold during curing.
This 3D-printed part was then used as a positive for the silicone mold, which took 16 hours to set. The resulting mold was then used to make 3 solid polyurethane casts of the car, each of which took approximately 4 hours to cure.
To prepare the car design for injection molding, all surfaces of the part were drafted by at least 1º to ensure successful separation of the part from the mold. Additionally, the car's geometry was shelled to reduce material sink common in injection molding thick parts.
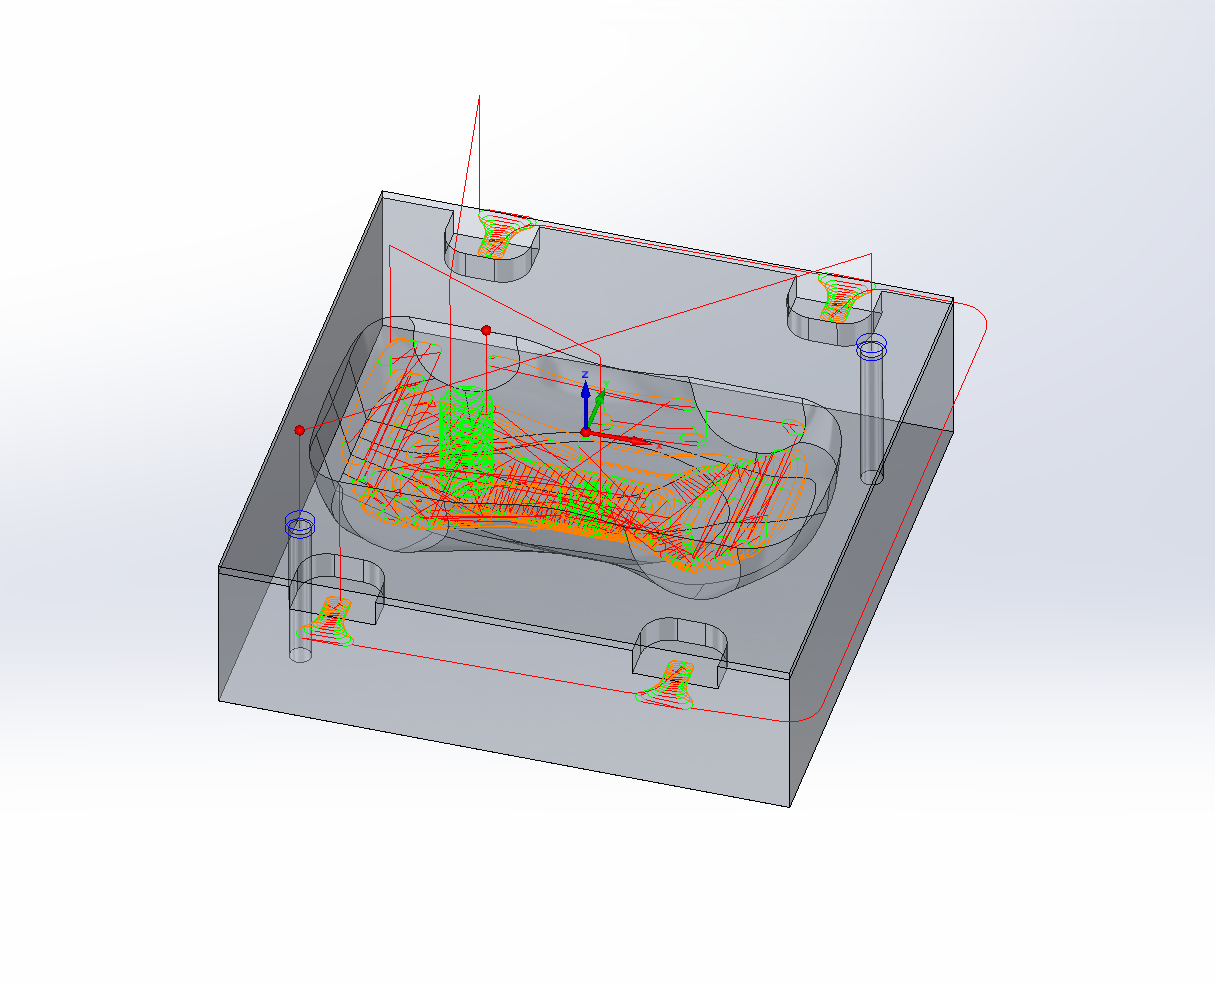
The injection mold was machined from aluminum in two parts using the Haas 3-Axis Minimill. Additionally, operations to include an injection point sprue, mold alignment geometries, and proper airflow were also done through computer-aided machining.
Dyed HDPE parts were then injected in volume through use of a Morgan Press. In about 2 hours, we were able to manually produce 25 injection molded parts.


